

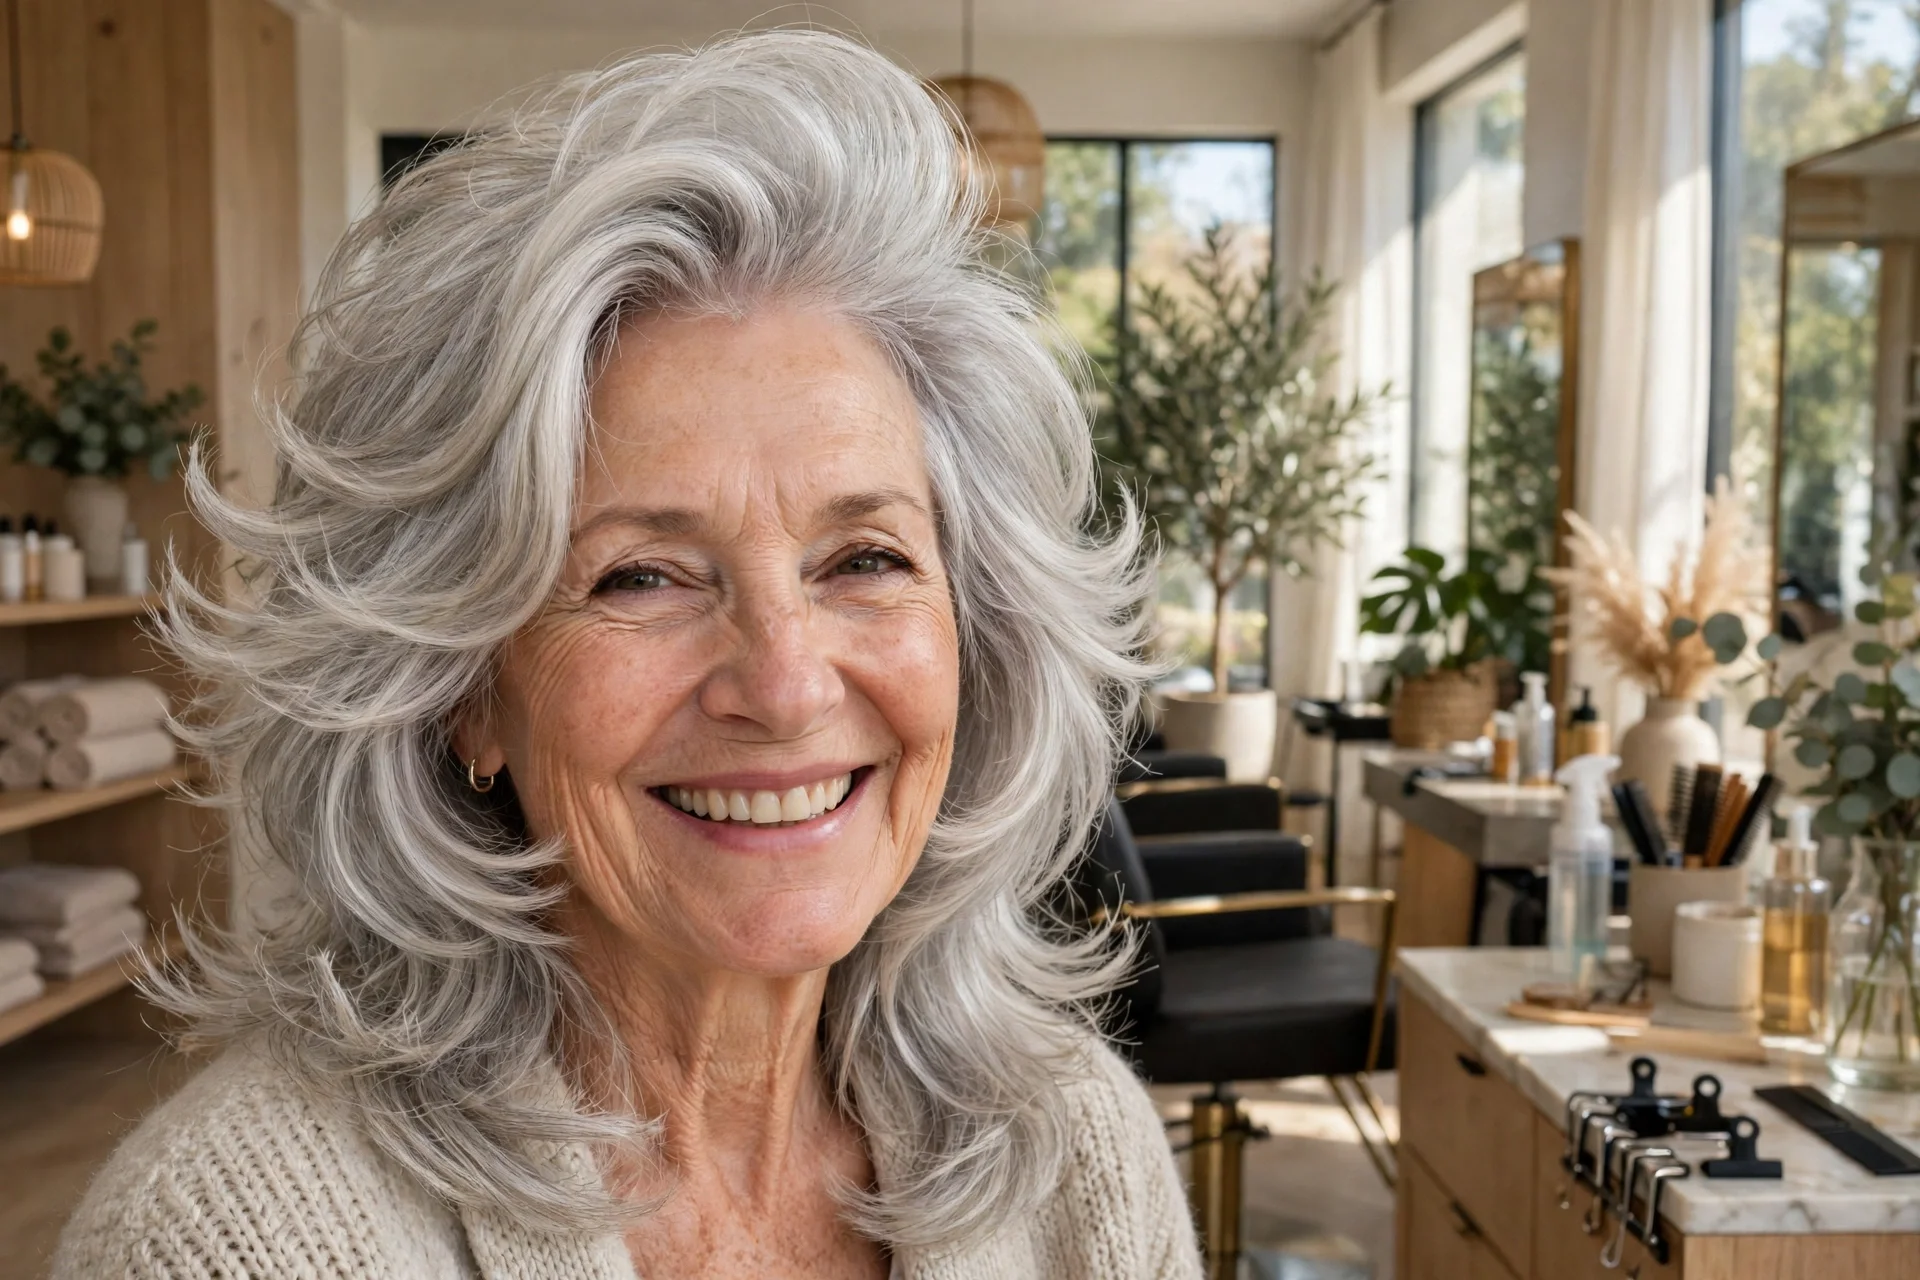
“I am 66 and I got a butterfly haircut because I loved the soft layers around the face in every photo I saw. At the salon it looks wonderful, but at home my layers all fall into one big shape and the style just looks heavy. I also do not want to spend forty minutes with a round brush every morning. Is there an easier way to style it so the layers actually show?” — Carol J., Denver, Colorado
Carol, your layers have not gone anywhere. They are simply all drying in the same direction. When the short face-framing pieces, the longer layers and the ends are pulled through one big brush section together, they settle together too — and that is the single heavy shape you are seeing in the mirror.
The good news is that a butterfly cut does not need a full blowout. Only two zones do the real work: the crown, which needs lift, and the shorter layers around your face, which need direction. The long hair underneath can be dried mostly with your fingers. Add four large Velcro rollers — not for curls, just to hold the shaped sections while they cool — and the whole routine takes about fifteen minutes. If you enjoy a low-effort routine like this one, our guide on how to style a mixie shag haircut for older women works on the same principle. Here is the routine, step by step.
Step 1: Give Damp Hair Grip, Not Weight
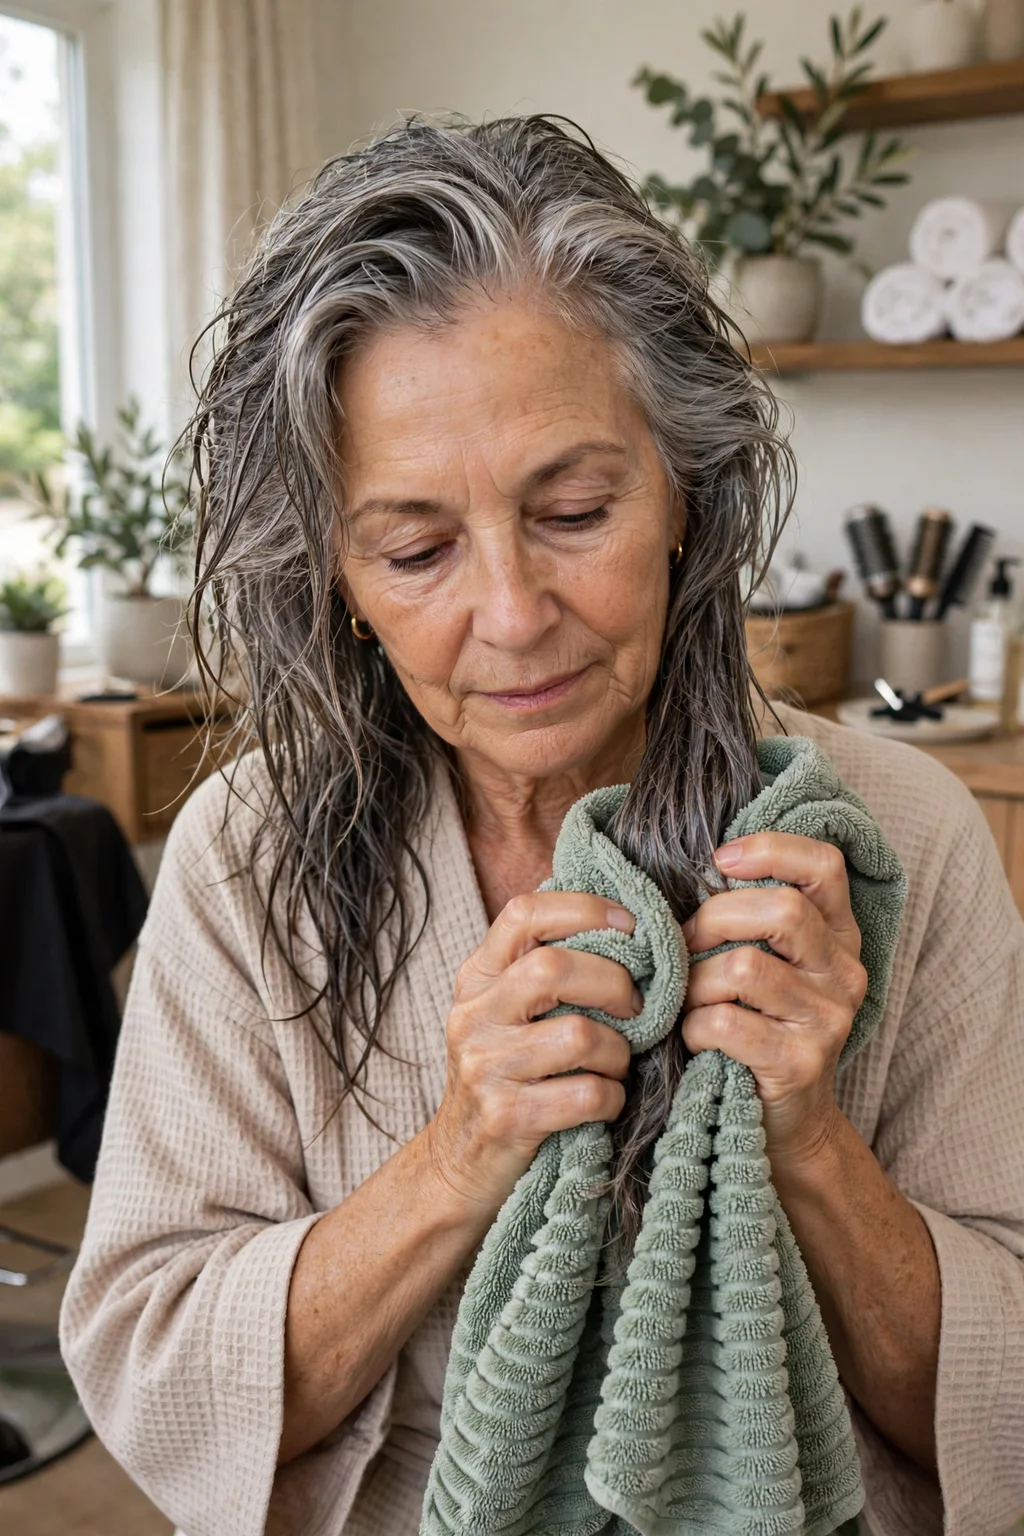
Start while the hair is damp, not dripping. Press it gently in a microfiber towel for a minute — kinder to mature hair than rough towelling — then detangle from the ends upward with a wide-tooth comb so you are not dragging on the layers.
For hair that tends to lie flat, work two or three pumps of a lightweight texturizing foam through the roots and mid-lengths, and stop an inch or two short of the ends if they are dry. The goal is a little grip where the layers need support. A heavy coating from scalp to tips will glue the layers back into that one big shape before you even start.
Step 2: Dry the Underneath Length Without a Brush
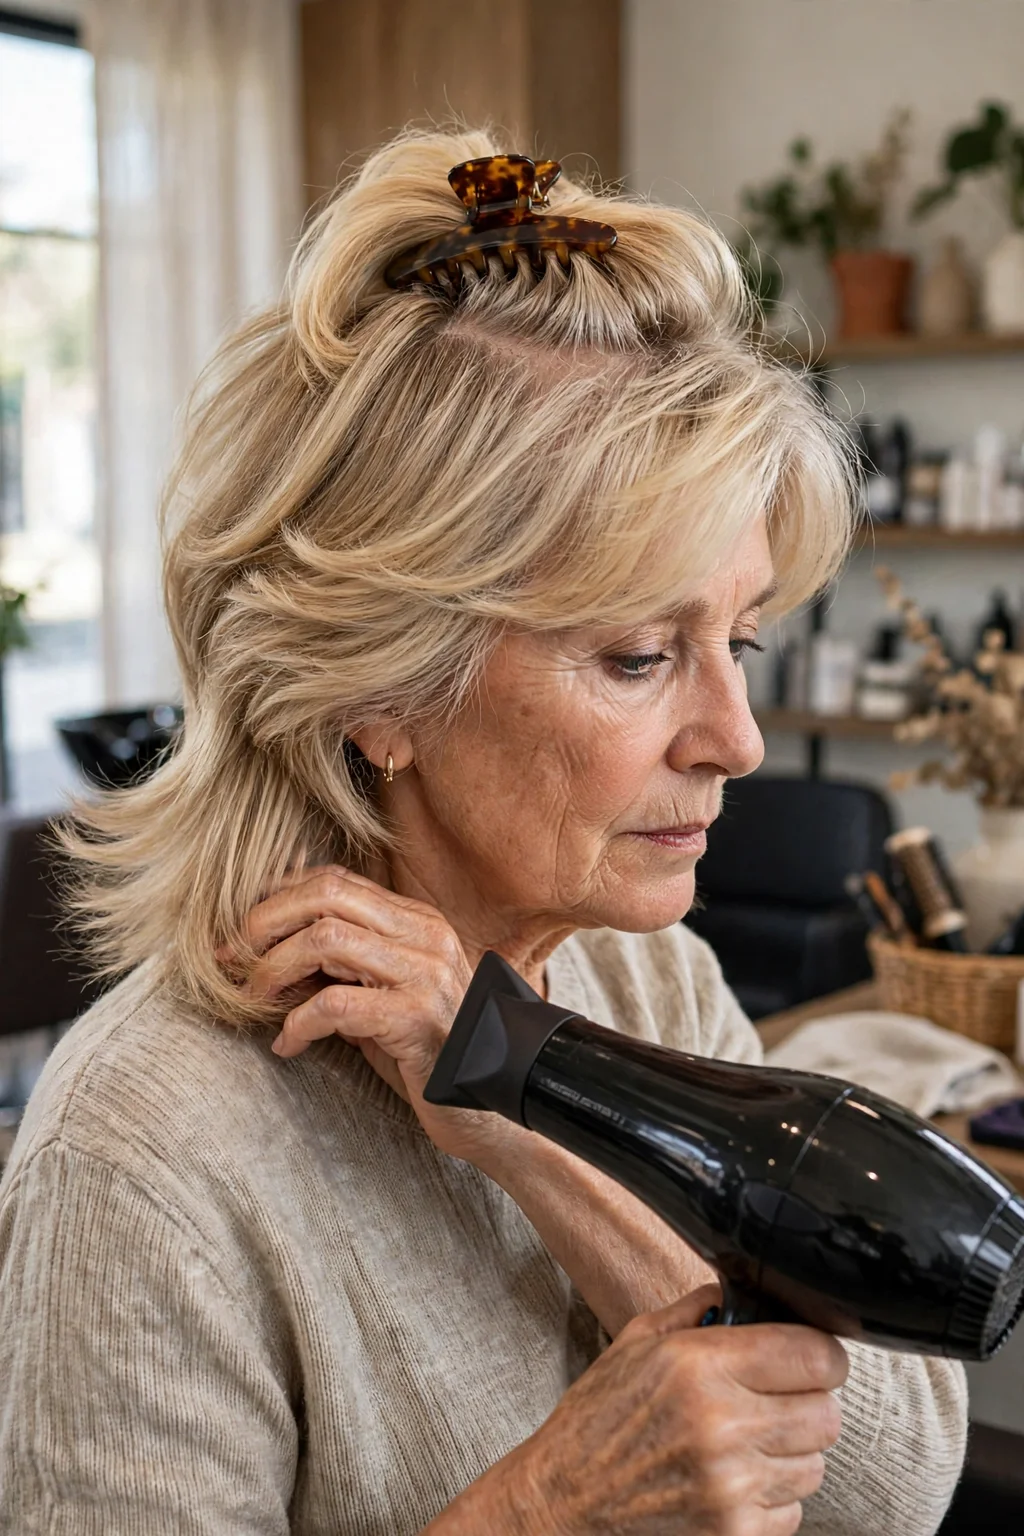
Now separate the hair into two zones. Trace a loose horseshoe from one temple, around the crown, to the other temple, then twist that top section up and hold it with a large claw clip. Everything below it — the long underneath hair — stays down.
Dry the underneath hair with the dryer on medium heat, lifting and loosening it with your fingers and aiming the airflow from roots to ends. No round brush here at all. This length is the calm background of the haircut; its job is simply to be dry and smooth-ish. Stop when the underneath is dry and the clipped-up section is about eighty per cent dry.
Step 3: Wake Up the Crown Before the Ends
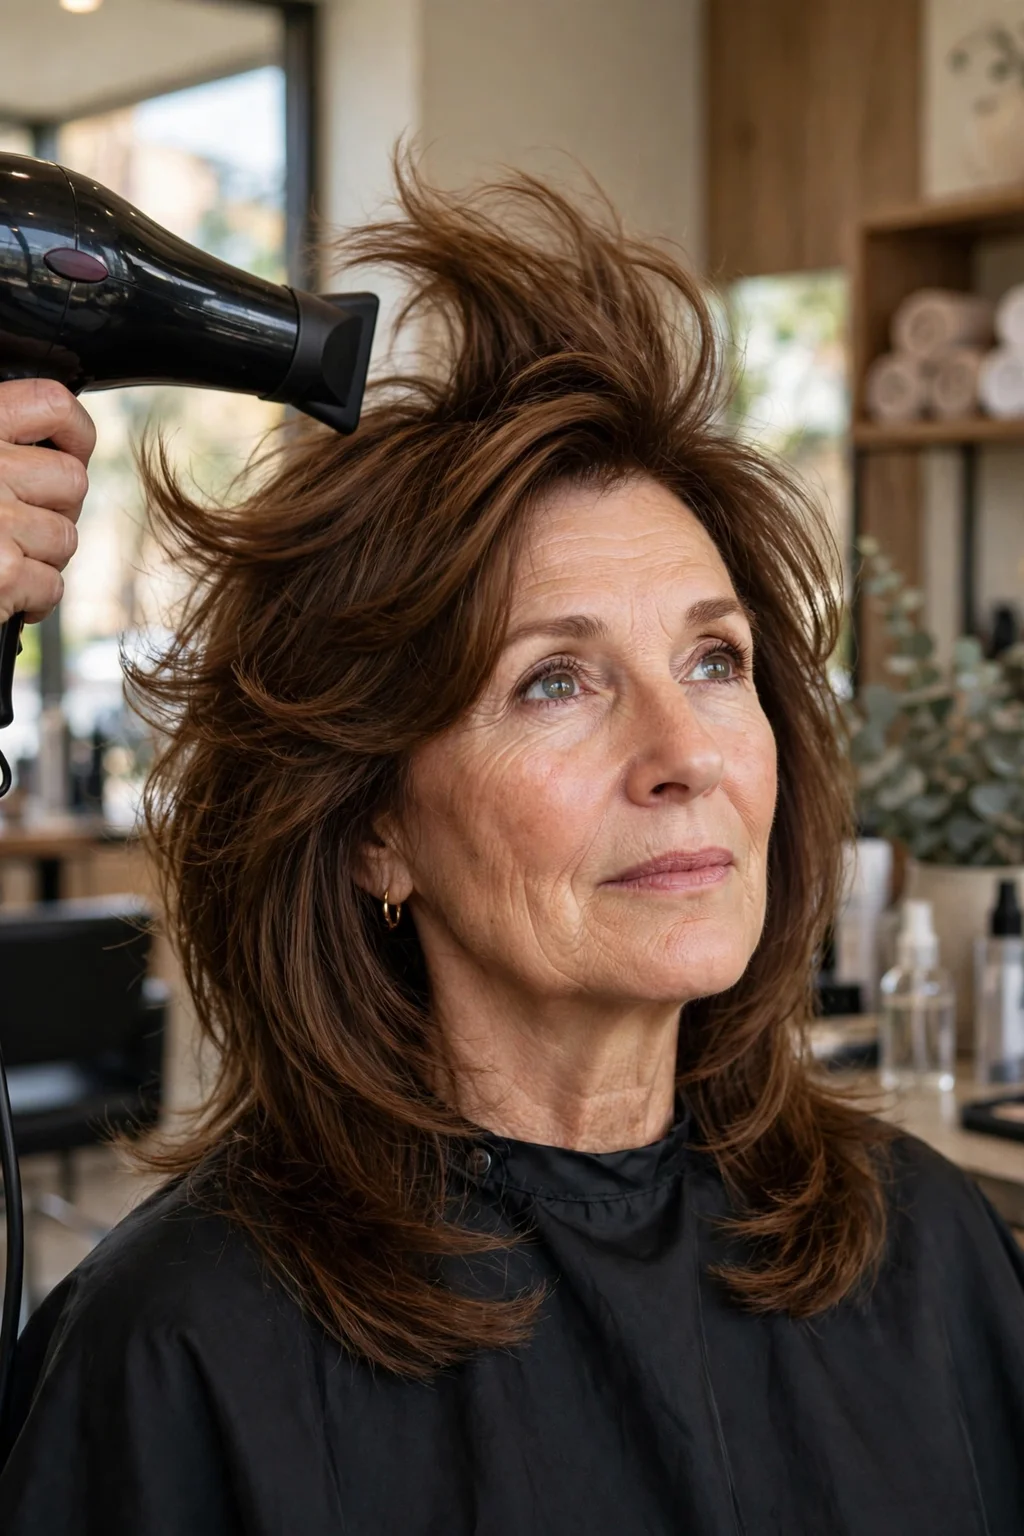
Let the top section down and divide it loosely into three: left front, right front and crown. Mist a root-lift spray along the crown partings only — the shorter top layers need something to stand on, and the lengths do not need any more product.
Then dry each crown section in the opposite direction from the way it wants to fall. Lift a section with your fingers, sweep it across to the other side, and aim warm air at the roots for five to eight seconds. Move it back, repeat the other way, and finish with a cool shot. This back-and-forth drying breaks the flat pattern at the scalp and puts air between the roots — real lift, with no teasing and no damage.
Step 4: Shape Only the Layers Around Your Face
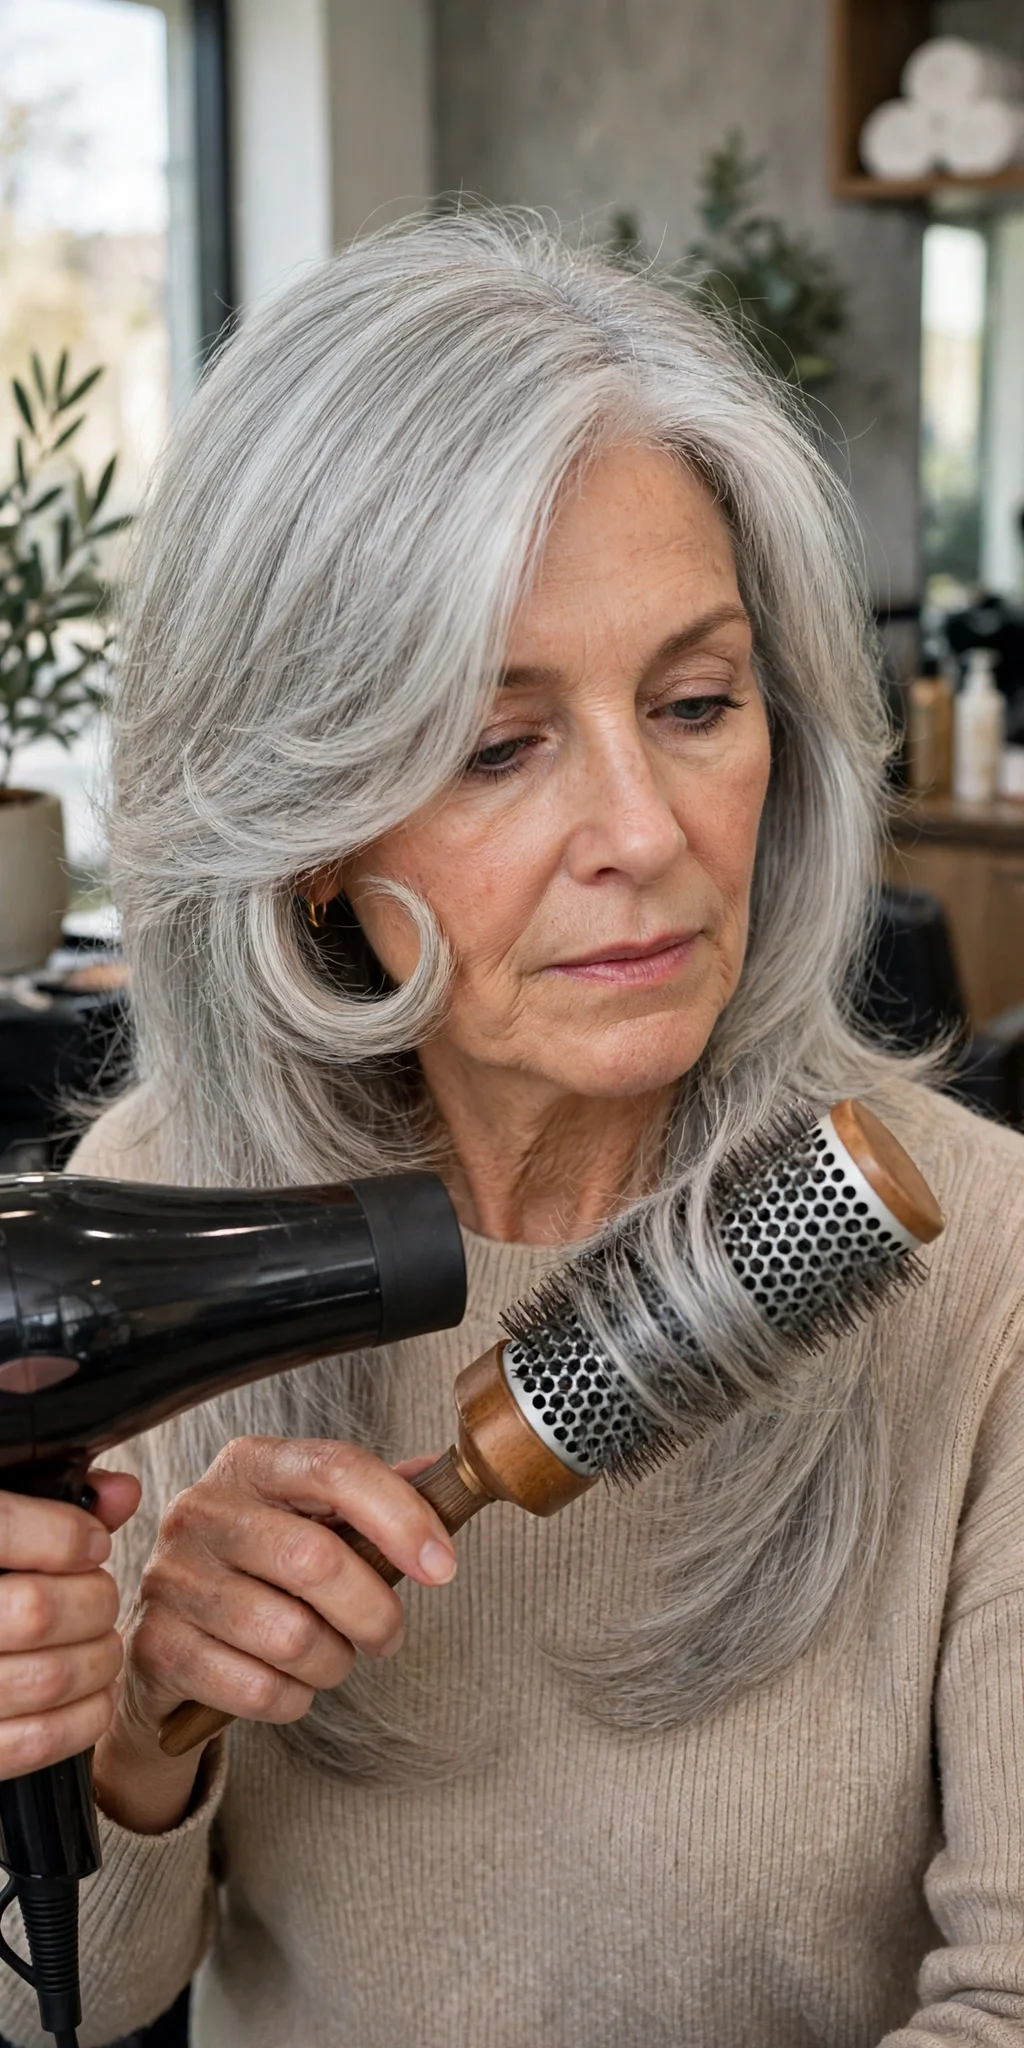
This is your only round-brush step, and it stays small. Use a large-barrel brush — around one and a half to two inches — because a big barrel makes the broad, open sweep a butterfly cut is known for, rather than a tight curl.
Take one front section no wider than the brush, place the brush underneath, and pull the hair forward toward the mirror with the dryer following above it, nozzle pointing down the hair. At the end, turn the brush once and guide the section back, away from your cheek. Repeat on the other side. For curtain-style front pieces, dry both sides forward together first, then split them at the centre and sweep each half away from the face.
Step 5: Let Four Big Rollers Hold the Shape
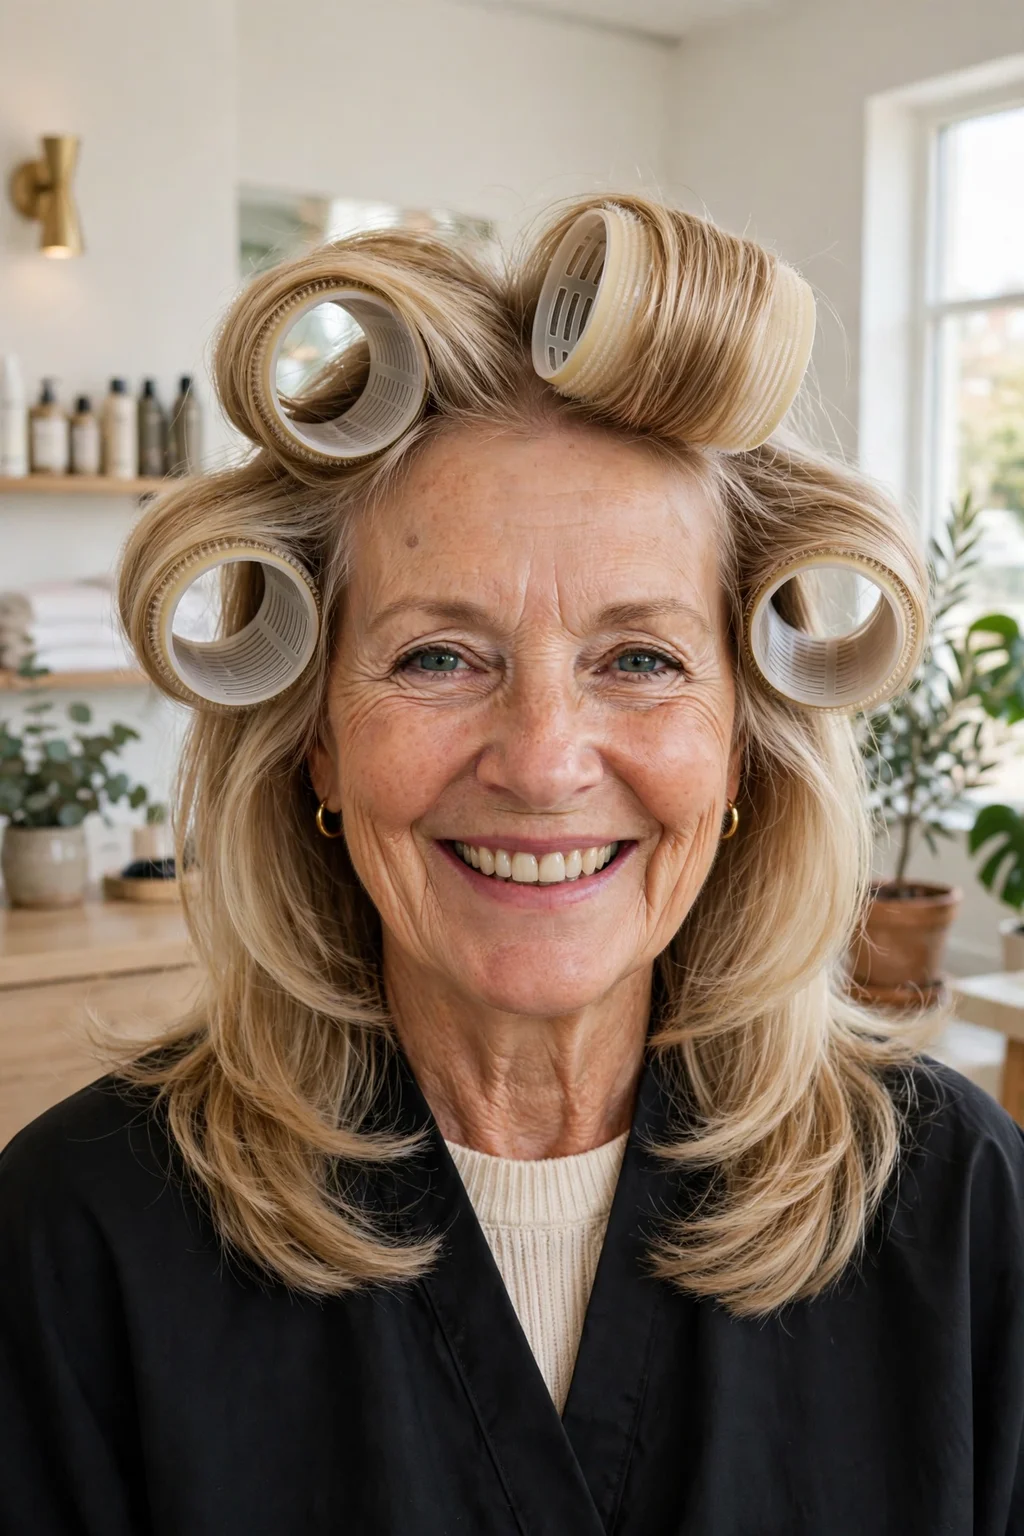
While each styled section is still warm, wind it onto a large self-grip roller: one at the front, two through the top, and the fourth wherever your haircut tends to collapse first. At the sides, roll the hair back and away from the face. At the crown, lift the section straight up before winding it backward — that upward start matters more than a perfectly neat wrap.
Choose rollers around two to two and a half inches wide; at that size they hold a soft bend rather than making a curl. Then leave them alone until the hair feels completely cool, usually five to ten minutes. Warm hair has not decided where it wants to sit yet. Get dressed, make coffee, put on your makeup — this is hands-free time, and it is what makes the style last.
Step 6: Separate the Layers with Your Fingers
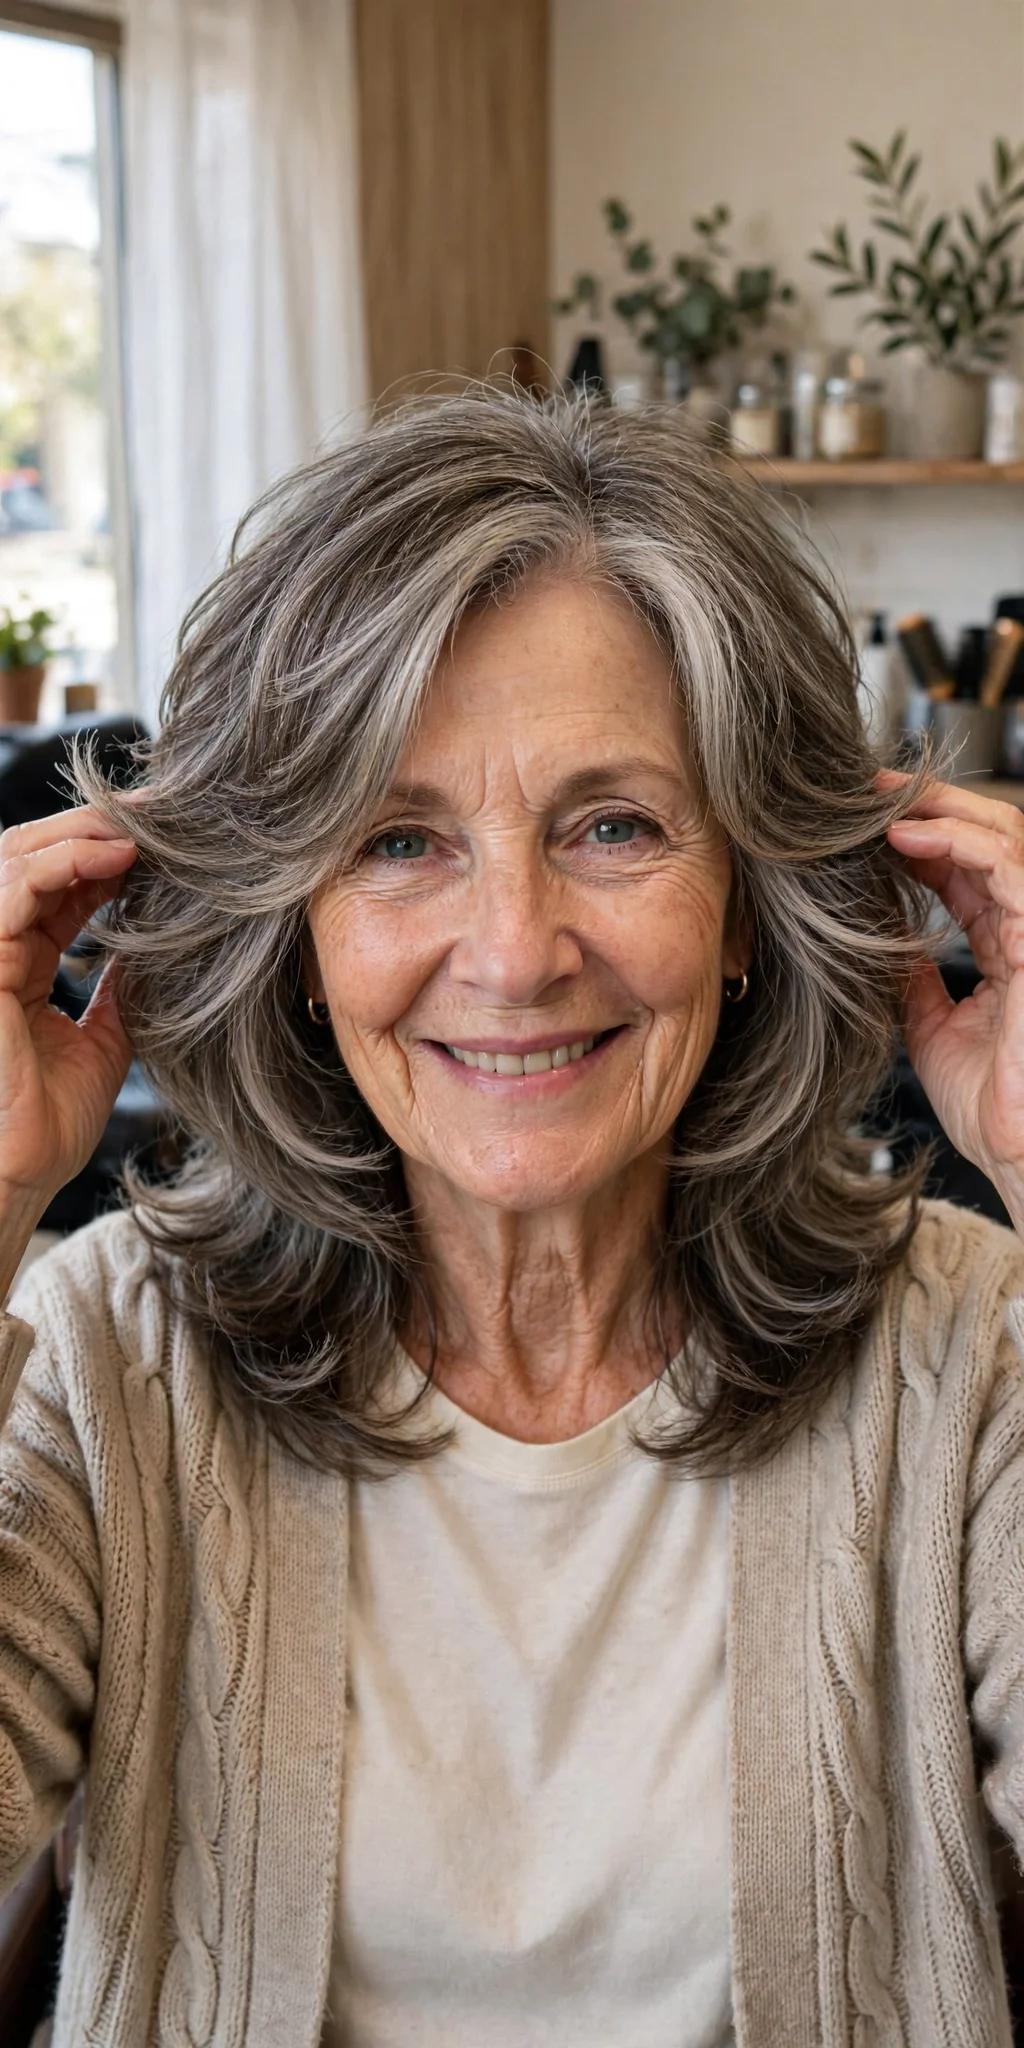
Unwind each roller slowly rather than pulling it out sideways. Slide your fingertips in at the scalp and give the roots one light shake, then tip your head gently from side to side and let the shorter pieces find their own level. This is the moment the butterfly shape appears: lift through the top, soft wings around the cheekbones, and the longer hair falling underneath.
Rub a single drop of lightweight oil between your palms and pinch it into the very ends and any dry, silvery pieces — keeping your hands away from the crown. If one face layer has rejoined the longer hair, twist just that piece away from your face for a few seconds and release it. Finish, if you like, with a light mist of flexible-hold hairspray from an arm’s length away, aimed underneath the layers rather than over the top. The style should still move when you turn your head.
Make the Routine Fit the Hair You Have
If your hair is fine, keep the foam and root spray concentrated above the ears and keep oil well away from the scalp. If your hair is thick, split each front side into two smaller brush sections so the shorter pieces do not get buried inside the longer ones. If your hair is naturally wavy, rough-dry the underneath with a diffuser and use the round brush only on the front and crown.
On the second morning, do not start again. Mist a little root spray onto two crown sections, warm each spot for a few seconds, and put the front and crown back into the same four rollers while you get ready. Add dry shampoo only along the part if you need it — too much powder dulls the shine you worked for. Carol, the easiest butterfly style is not a polished blowout at all; it is a quick dry that pays attention to the few sections that give the haircut its personality. Lift the crown, direct the front pieces away from your cheeks, let them cool on big rollers, and leave the rest alone. That is the whole trick.