


“I am 68 and I finally took the plunge with a mixie shag after years of wearing my hair in the same short bob. In the salon it looked wonderful — full on top, soft around my face, and so much lighter. At home it is a different story. By the second morning it falls flat at the crown, and if I add the products my daughter swears by, it just looks weighed down and separated in the wrong places. What am I doing wrong?” — Margaret, 68
If Margaret’s mornings sound familiar, take heart: a mixie shag is meant to be one of the easiest cuts to live with, and when it misbehaves at home the problem is almost never the cut itself. This short, textured mix of a pixie and a shag lives or dies on two things — height at the crown and light, separated layers. Get those two right and the shape more or less styles itself, whether your hair is silver, grey-blended, warm brown or soft blonde.
The routine below takes about ten unhurried minutes and uses your fingers and a dryer instead of a round brush, with product placed only where it is actually needed. It works just as well if you love a soft fringe as it does on a shag with curtain bangs, because the principle is the same: lift the top, keep the sides close, and let the choppy ends stay piecey rather than polished smooth.
Step 1: Start With Towel-Dried Hair

Every good mixie starts before any product comes out. After washing, wrap your hair in a soft towel or an old cotton T-shirt for a few minutes so it gives up its dripping water without being roughed up. Rubbing vigorously with a rough towel is a fast route to frizz, especially on grey and silver hair, which tends to be a little coarser and more fragile than it once was.
Aim for hair that is damp all over but no longer wet — roughly the feel of a wrung-out flannel. Hair at this stage takes product evenly and dries much faster, which means less heat on delicate strands. Gently squeeze the ends, shake your head once, and let the layers fall where they naturally want to sit before you touch anything else.
Step 2: Add a Little Volume at the Roots
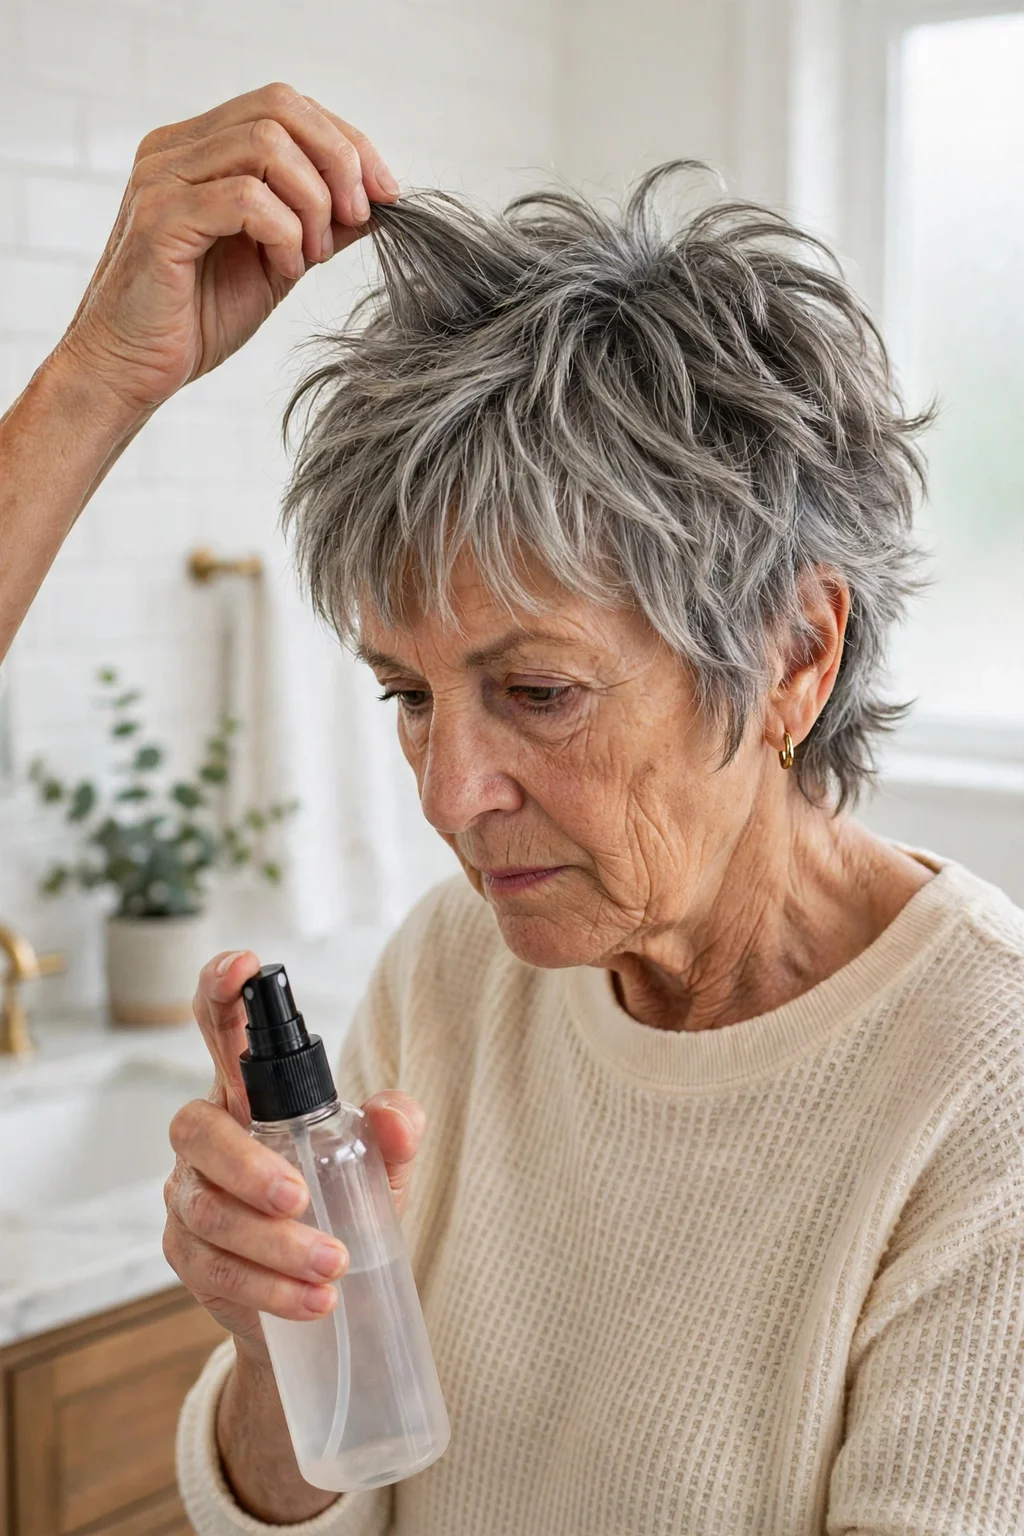
Volume in a mixie shag belongs at the roots, not through the lengths. Lift small sections at the crown and around your parting with your fingertips and apply a light root lift spray right at the scalp, or work a marble-sized amount of lightweight mousse through the top section only. Keep the product off the ends — they need to stay light and mobile, not coated.
Less is genuinely more here. Fine and thinning hair, which many of us have in our sixties and seventies, collapses under heavy volumisers far faster than it falls flat on its own. You can always add a touch more tomorrow; rescuing hair that has been overloaded usually means washing it and starting again.
Step 3: Protect Your Hair Before Blow-Drying

Before the dryer comes anywhere near your head, mist a heat protectant spray lightly over the whole cut, holding the bottle a good hand’s width away so it lands as a fine veil rather than wet patches. Comb it through gently with your fingers so every layer gets a share, paying a little extra attention to the fringe and the top, which will see the most heat.
This step matters more as hair ages. Mature hair loses moisture and elasticity, and unprotected heat shows up quickly as dryness, dullness and ends that snap instead of bend. A few seconds of protection now keeps the cut looking glossy and soft rather than frazzled, and it helps colour — natural or bottled — stay true for longer.
Step 4: Rough-Dry With Your Fingers

Put the round brush back in the drawer. A mixie shag is styled with your fingers: set the dryer to medium heat and a moderate speed, then rake your fingers up through the hair, lifting at the roots and pushing the hair first one way, then the other. Drying against the direction it will finally sit is the simplest trick there is for lasting body.
Keep the dryer moving and keep your fingers moving with it, scrunching the choppy layers lightly as they dry so the texture forms while the hair is still warm. Work all over until the hair is about ninety per cent dry. It should look a little wild at this stage — that is exactly right. Smooth, flat hair at this point would mean the finish has nowhere left to go.
Step 5: Give the Crown a Quick Lift
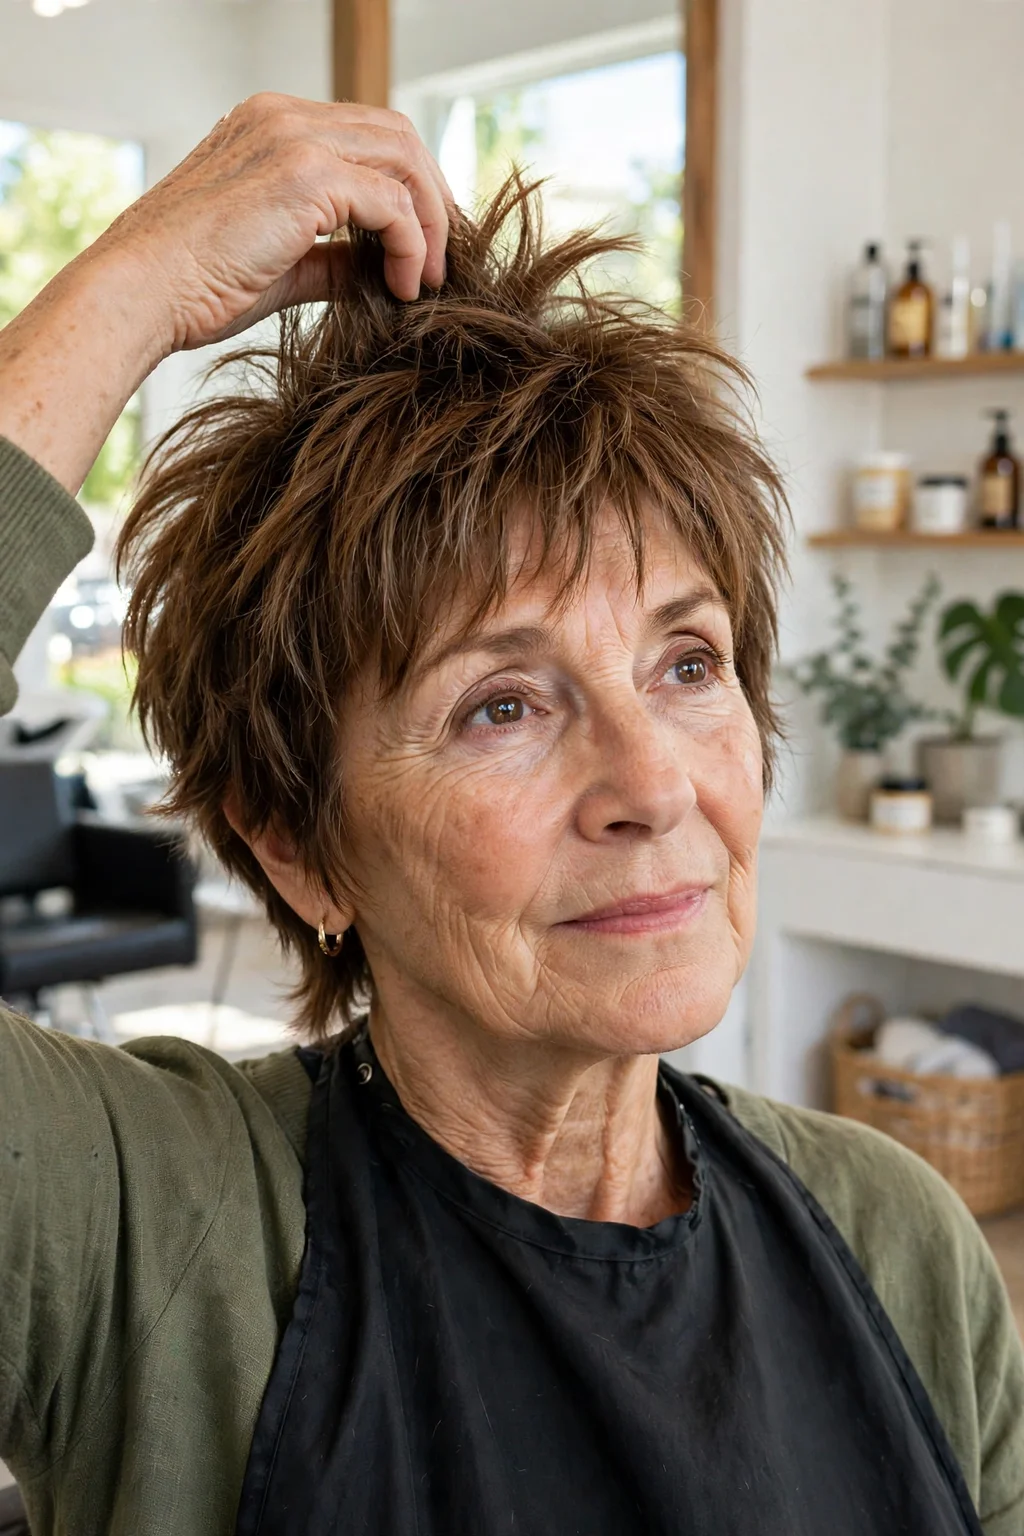
The crown is where a mixie earns its keep, and it deserves thirty focused seconds. While the hair is still warm from drying, push your fingertips in at the roots on top and lift the short crown layers up and slightly back, holding them there as you give them one short blast of warm air followed, if your dryer has one, by a cool shot to set the lift.
If the top still wants to lie down, tip your head forward and repeat the lift upside down for a few seconds — gravity does half the work for you. Then flip back up and arrange the top pieces with your fingers. Avoid brushing the crown flat in the name of neatness; that height is the whole silhouette of the cut, and it is what keeps a short style looking youthful and intentional rather than severe.
Step 6: Shape the Sides and Fringe

With the crown sorted, the sides should sit closer to the head — that contrast between a full top and neat sides is what makes the mixie shape read clearly. Smooth the side pieces down and slightly forward with your palms, tucking any longer face-framing bits so they curve softly towards the cheekbone. If a section puffs out, a two-second pass of warm air while you press it gently into place will usually persuade it.
For the fringe, dry or re-dampen it separately and sweep it side to side with your fingers as the air flows over it, then let it settle into its natural split. Wispy fringes are not meant to sit in a solid block, so separate the ends into two or three soft pieces. Stand back from the mirror and check the outline rather than individual hairs — the shape should look balanced, not perfect.
Step 7: Separate the Shaggy Layers
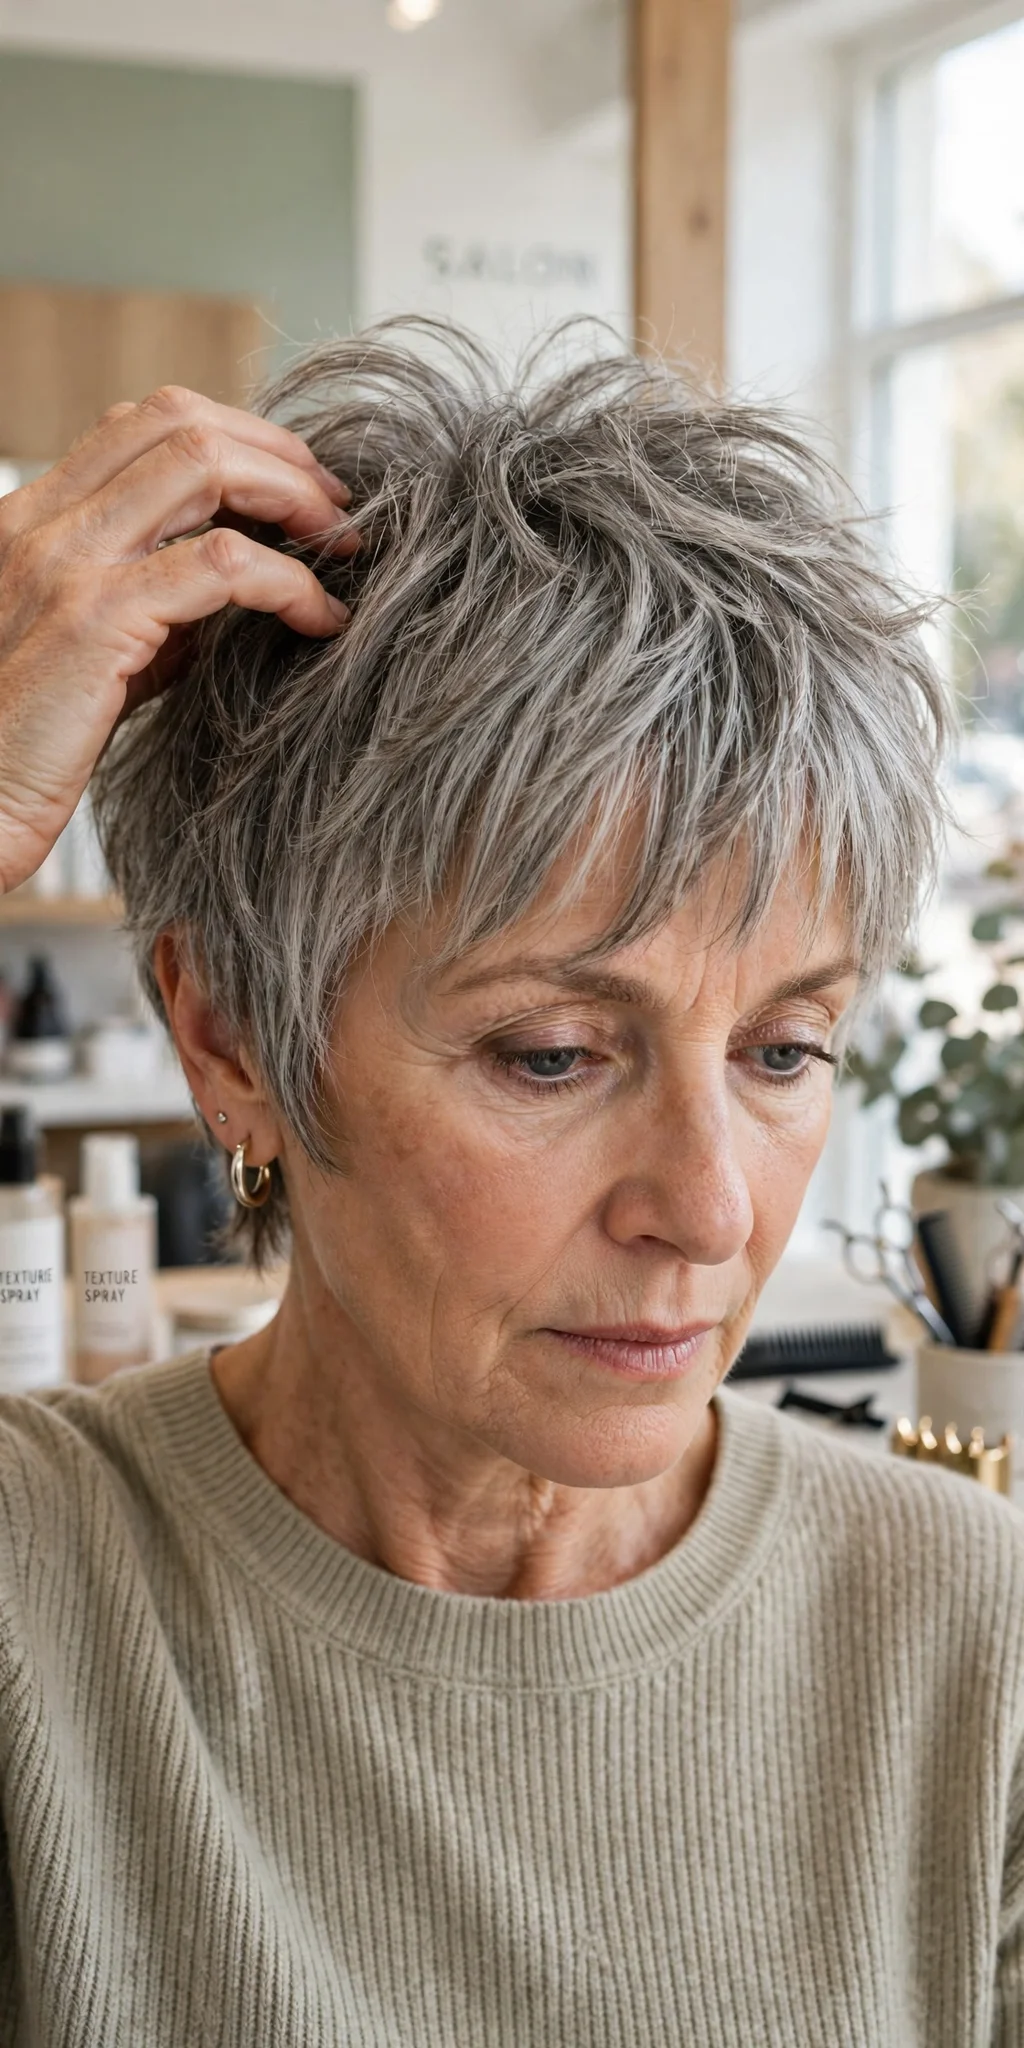
Now for the step that turns a neat short cut into a shag. Once the hair is completely dry, take a tiny amount of dry texturizing spray — or the smallest dab of a light styling product worked almost to invisibility on your fingertips — and pinch and twist small sections of the layers, especially around the crown and sides. You are coaxing the ends into soft, separated pieces, not spikes.
Work slowly and keep stepping back to look. The goal is definition you can see in the mirror from arm’s length: layers that catch the light separately and move when you turn your head. If you cannot see a difference, add a fraction more; if the hair starts to look stringy, you have passed the right amount, and a gentle brush-through with dry fingers will soften it again.
Step 8: Finish Dry or Frizzy Ends

The final touch is reserved for the ends alone. Warm a single drop of lightweight hair oil between your palms — truly one drop for a cut this short — and press and smooth it only over the last inch or so of hair, where dryness and frizz actually live. Keep it away from the roots and crown, or you will undo all the lift you built in Step 5.
If frizz is your main battle, particularly on wiry grey strands, this little ritual makes the difference between a finish that looks dry and one that looks deliberate. Flyaways around the hairline can be patted down with whatever trace of oil remains on your hands. Then leave it alone: a mixie looks best a few minutes after styling, once it has settled into itself.
The 5-Minute Version

On the second or third day, you do not need to start again — you only need to wake the cut up. Mist the crown and fringe very lightly with water, or work a small puff of dry texturizing spray into the roots, then use warm fingers and a minute of dryer air to re-lift the top in the opposite direction from where it slept. The layers remember their shape surprisingly well once the roots are revived.
Re-pinch two or three of the most visible layers to restore the separation, smooth the ends with the faintest trace of oil if they look dry, and you are done. Five minutes, no washing, no full restyle. Many women find their mixie actually looks better on day two, when a little natural texture has joined in and the finish stops looking freshly done.
A Few Stylist Tips for Making Your Mixie Easier to Manage
The single most common mixie mistake is too much product, not too little. Short, layered hair shows every excess: roots collapse, layers clump, and the whole cut can look dirty a day early. Build everything in small amounts, and remember that this cut was designed to do most of the styling work for you — if you are fighting it for twenty minutes, something in the routine is heavier than it needs to be.
Do not chase perfect symmetry, either. A mixie shag is a deliberately uneven cut, and a fringe that splits slightly off-centre or a side that flicks where the other lies flat is character, not error. Reach for your fingers before any tool, every time: fingers lift, separate and shape in a way brushes simply cannot, and they keep the finish soft against your face.
Finally, keep up with trims roughly every five to seven weeks. Because the shape depends on short crown layers and a slightly longer nape, it grows out of balance faster than a one-length cut. A small maintenance trim restores the proportions and makes every morning easier, long before the cut starts to look overgrown.
What to Ask Your Hairstylist For

Take a photo of the finish you love — the image above is a good starting point — and ask for a soft mixie shag: a short, textured cut with choppy layers through the crown, wispy face-framing pieces at the front, and a little extra length left at the nape so the back feels soft rather than clipped. Ask your stylist to show you, before you leave the chair, exactly how they lift the crown and separate the layers, and copy their hand movements at home rather than their product shelf.
If your hair is fine or thinning, say so plainly and ask them to go easy on the thinning shears. Over-thinning fine hair removes the very density the cut relies on, leaving ends that look wispy in the wrong way; point-cutting the ends gives texture without sacrificing fullness. And if you wear glasses or hearing aids, mention them — a good stylist will adjust the pieces around the ears so everything sits comfortably together.