


“I am 58 and I love how soft and airy my hush cut looks when I leave the salon, but at home the layers melt into one flat shape by lunchtime. How do I bring back that light, feathery movement without curling every section or spending half an hour on my hair?” — Patricia M., Phoenix, Arizona
Patricia, put the curling iron down for a moment. When hush cut layers disappear into one shape, the problem is almost never a lack of curl — it is a lack of lift at the roots and direction around the face. Adding curl on top of flat roots just gives you fuller ends under the same flat top.
You do not need to recreate every brush movement from your salon appointment. At home, give your attention to three things: the roots, your bangs, and the two pieces beside your cheeks. The rest of the cut can keep its natural bend — that is what it was designed to do. If you are still deciding on the cut itself, our guide to the hush cut hair long shows the longer version of the same soft layering.
For a shorter hush cut like the one pictured here, aim for about ten to fifteen minutes of hands-on styling once your hair is damp rather than dripping; thicker hair will take a little longer to dry. Steps 1 to 4 are your wash-day routine. Step 5 is your next-morning shortcut. The goal is hair that moves when you turn your head, with a few layers you can actually see.
Step 1: Start with Damp Hair and a Small Amount of Mousse
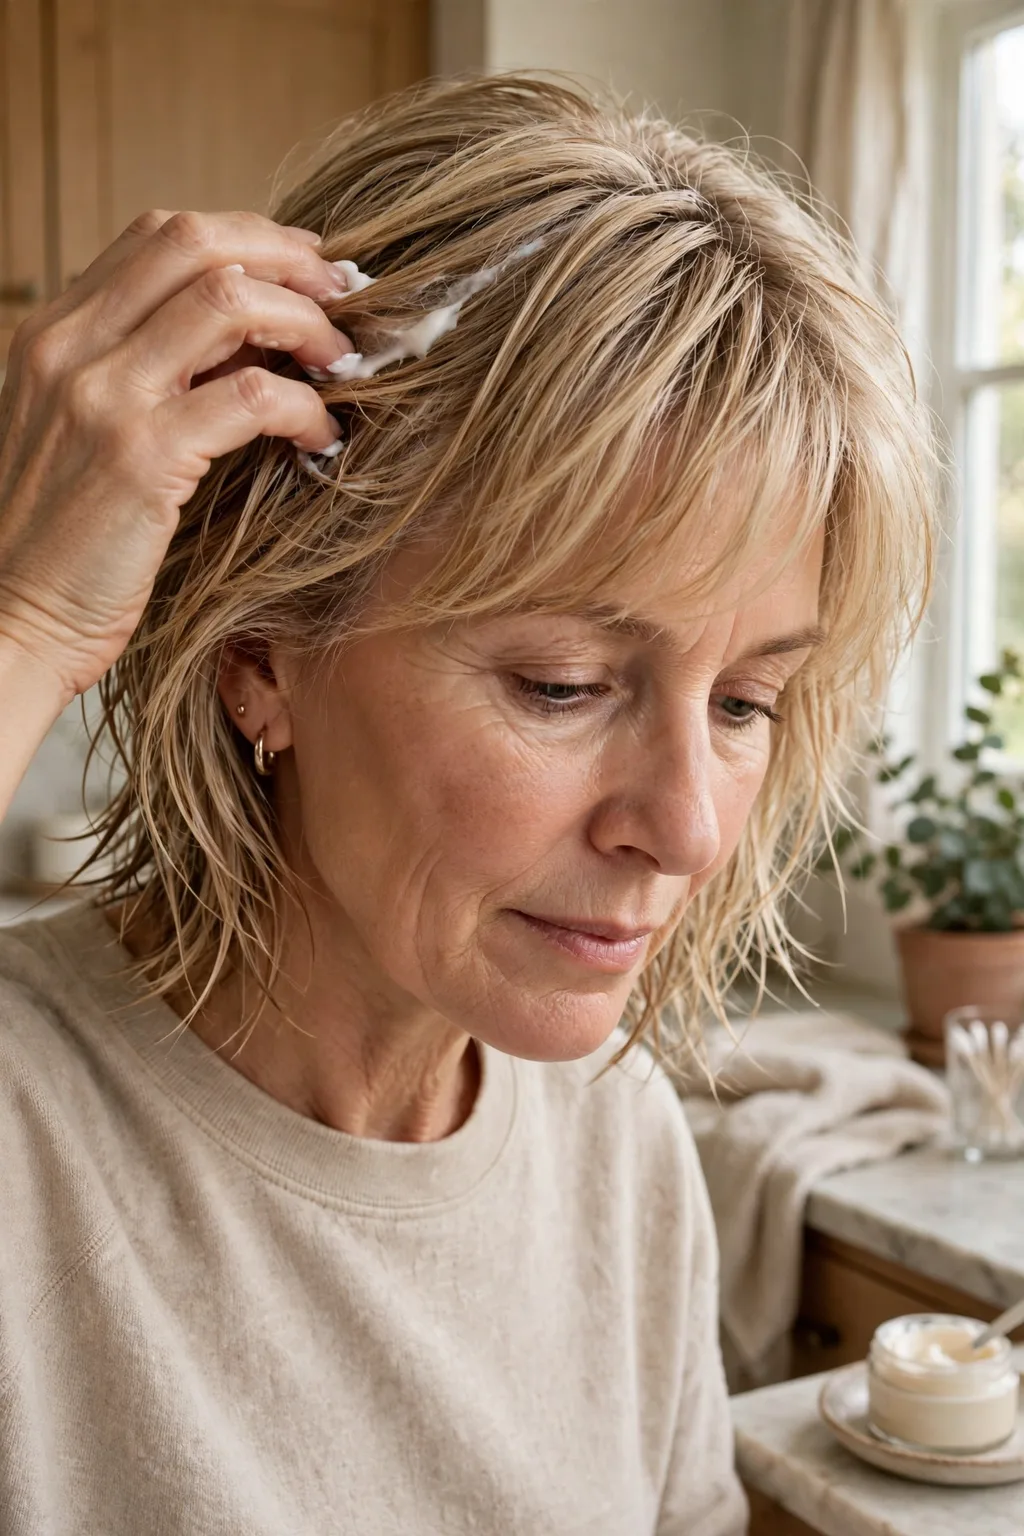
Before you reach for anything with a cord, gently squeeze your hair with a soft towel or an old cotton T-shirt. Press rather than rub, especially around the fine ends — rubbing is how feathery layers turn fuzzy before you have even started. Your hair should feel damp, but it should not release water when you squeeze a section.
If you have just conditioned, check you rinsed thoroughly around your ears and the nape. Leftover conditioner makes shorter layers cling together before styling even begins. Then work a modest amount of volumizing mousse through the damp hair, spreading it between your hands first and reaching underneath the top layers so you do not deposit everything on the surface. For a short, fine hush cut, start small — you can adjust on your next wash day. Your hair should still feel like hair afterwards, with no visible blobs of foam.
Step 2: Lift the Roots with Your Fingers Before You Pick Up a Brush
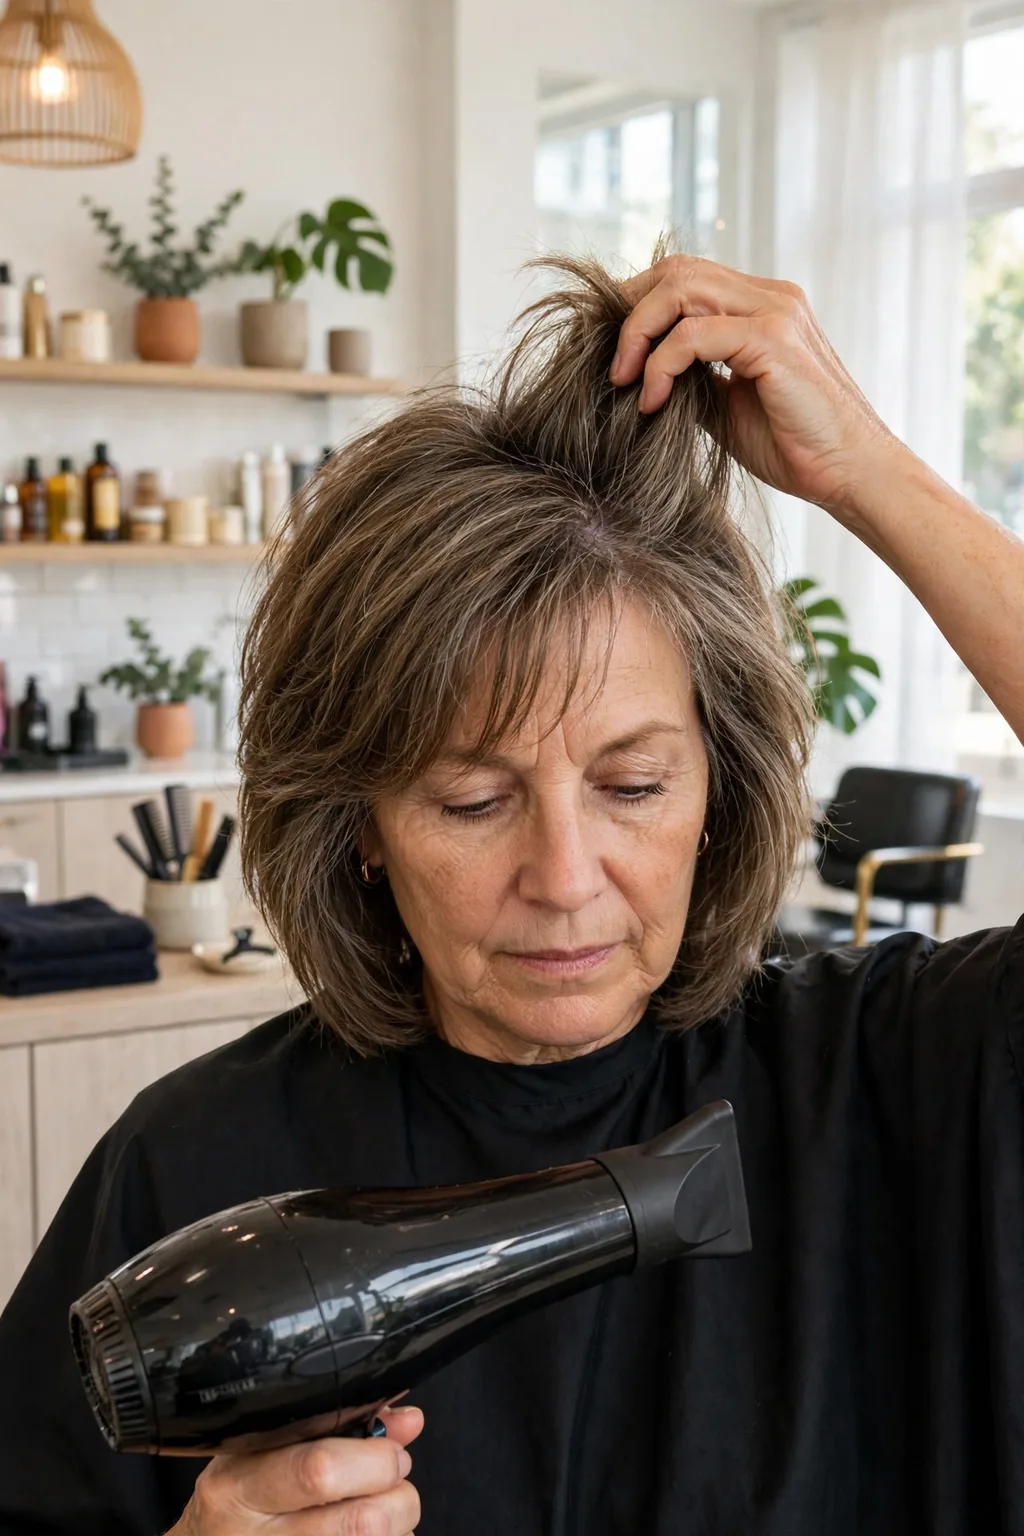
This is where most of your styling effort belongs. If your roots dry pressed against your scalp, no amount of end-flicking afterwards will give you height through the top. With the mousse already in, you do not need a second volumizer.
Set the dryer to a comfortable low or medium heat and start at the roots, keeping the nozzle a few inches away and moving. Slide your fingertips beneath the hair at the crown, lift gently, and direct the air along the lifted section from roots toward ends. Release, move over a little, and repeat — you are making room underneath the hair without pulling it tight. Then move the hair across the top toward one side with your fingers, then toward the other; once it settles into your usual part, it will sit less firmly against your head. There is no need to hang your head upside down for this. Dry the remaining lengths gently with your fingers, leaving the front pieces slightly damp for the next step, and cup the ends if you have natural waves instead of raking through them. Stop when the roots feel dry and the crown has a little space underneath it — more drying after that does not buy more volume.
Step 3: Shape Your Bangs and the Two Pieces Beside Your Cheeks
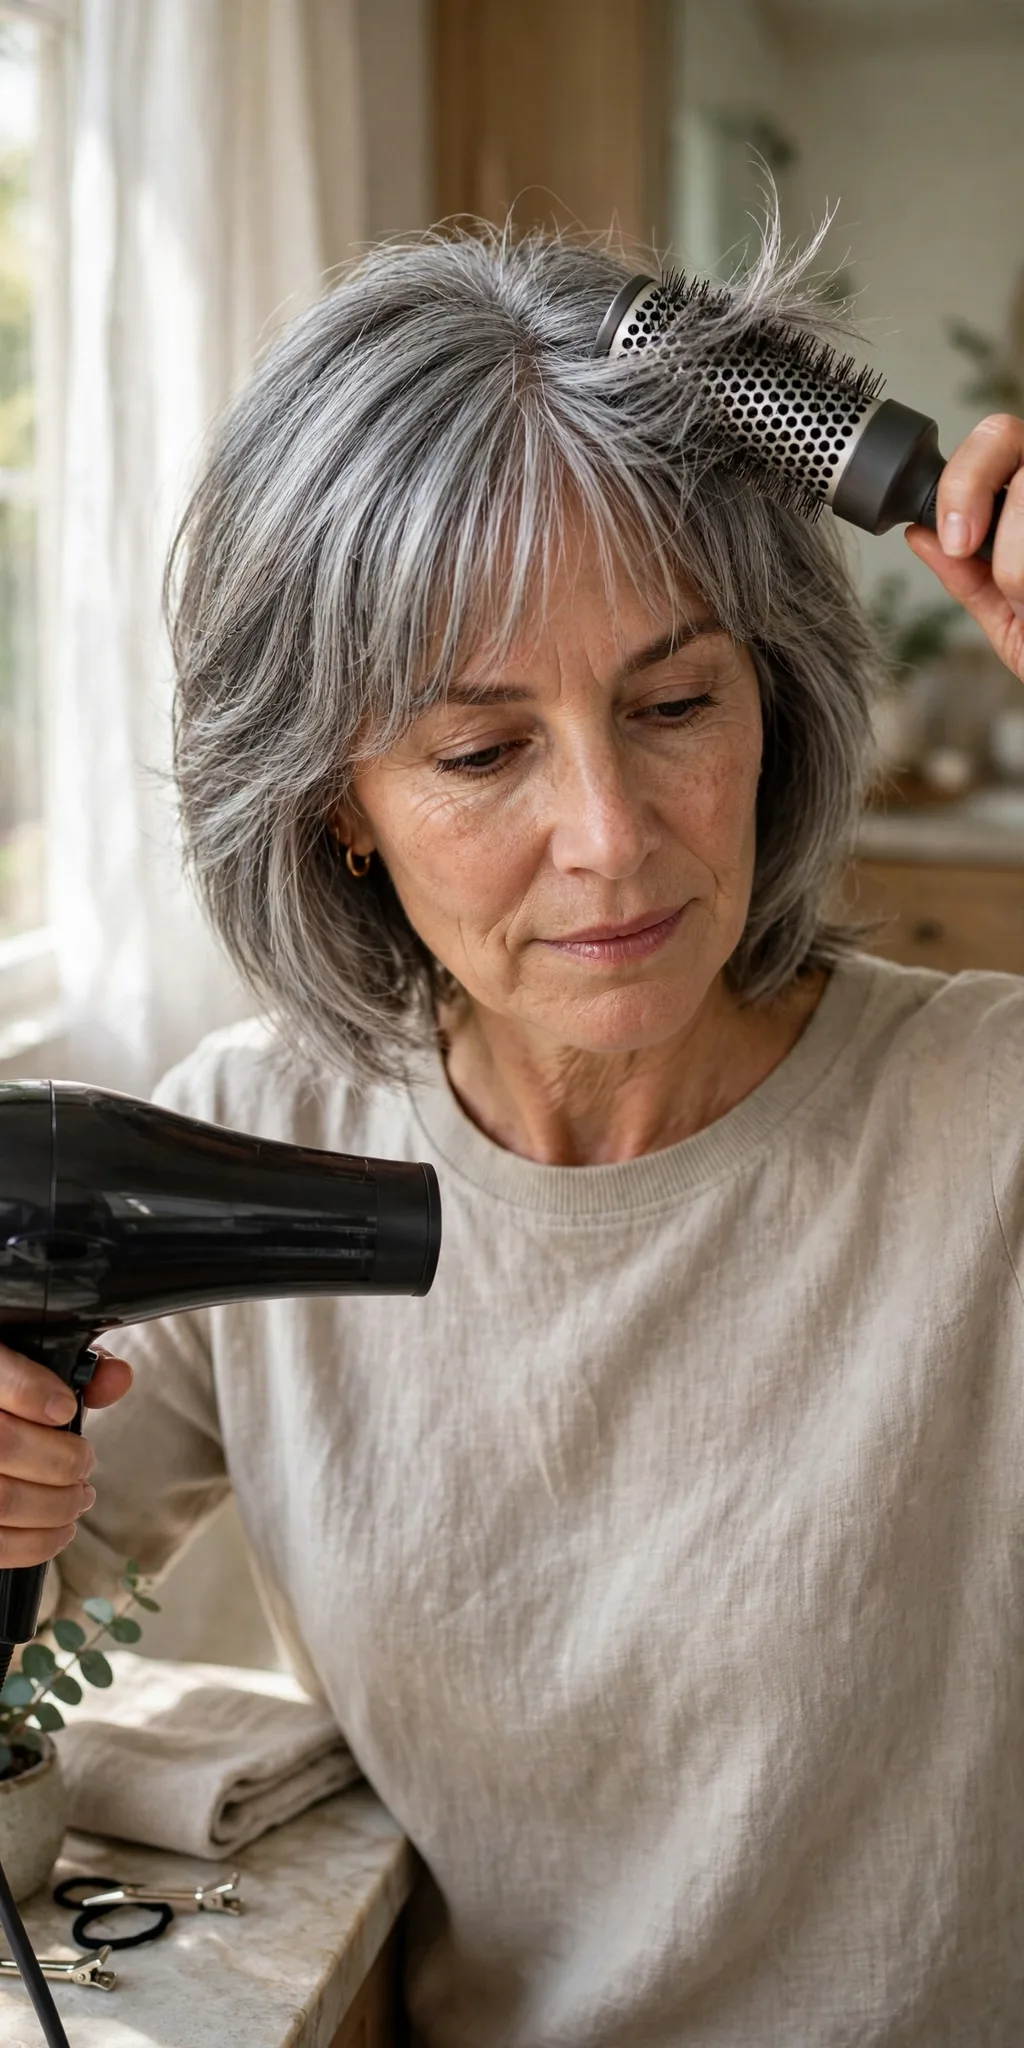
Now you may pick up a round brush — but it only has three small jobs: your bangs and one front section on each side. Choose a medium brush your shorter hair can comfortably bend around; a huge barrel is awkward with short layers, and a very small one can create more curl than you want.
If your bangs are still damp, brush them gently from side to side while directing the dryer downward, then let them open at their natural part — that stops you drying a hard split into the centre. For each front piece, place the brush underneath and draw it slowly outward and back, away from your cheek, following with the dryer from above. Give the brush a slight turn near the ends, then slide it out; do not wind the whole section tightly around the barrel. Let each piece cool before you touch it, because that pause lets the bend settle. You are looking for a soft sweep that reveals your cheek and separates the front layer from the hair behind it — one or two passes is usually plenty. If your bangs are too short to sweep back, simply guide them sideways and let the haircut tell you where the hair can comfortably go.
Step 4: Separate a Few Ends, Then Leave Them Alone
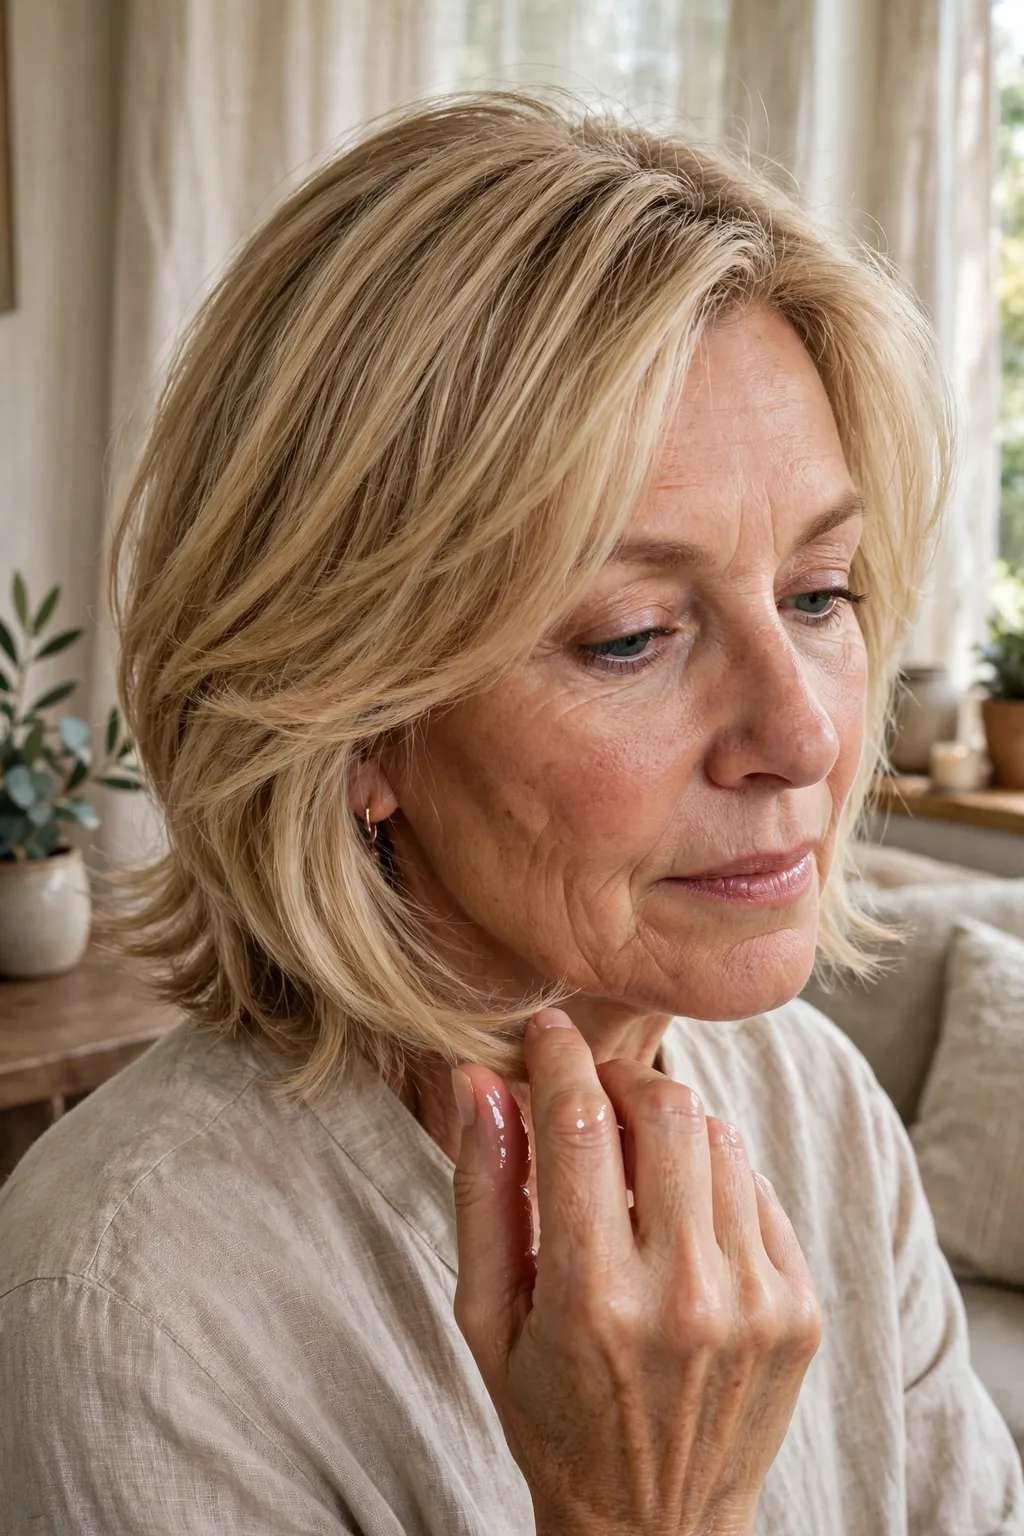
Once your hair is completely dry and cool, look at it before adding anything. You may already have enough movement. If the ends look fuzzy or blend together, a trace of lightweight hair oil can add smoothness and shine — for fine hair at this length, start with less than a full pump, rub it thoroughly between your hands, then touch your fingertips lightly to your palms so you are applying a thin film, not a coating.
Pick out a few ends beside your cheekbones and jaw, slide your thumb and fingertip gently along the last inch of each, and release. You are defining a few pieces, not coating every strand. Keep the oil away from your roots, and use whatever remains on your hands for a dry patch at the back. If your hair already feels silky, skip the oil entirely — it is an optional finish, not a requirement. Then slip your fingers underneath the crown, give it one gentle lift, and take your hands away. It is tempting to keep arranging until both sides match, but the slightly uneven movement is part of what makes this cut feel soft. A useful mirror check: turn your head left and right. Your layers should separate and settle again instead of moving as one solid section.
Step 5: The Next Morning, Refresh Only What Needs Attention
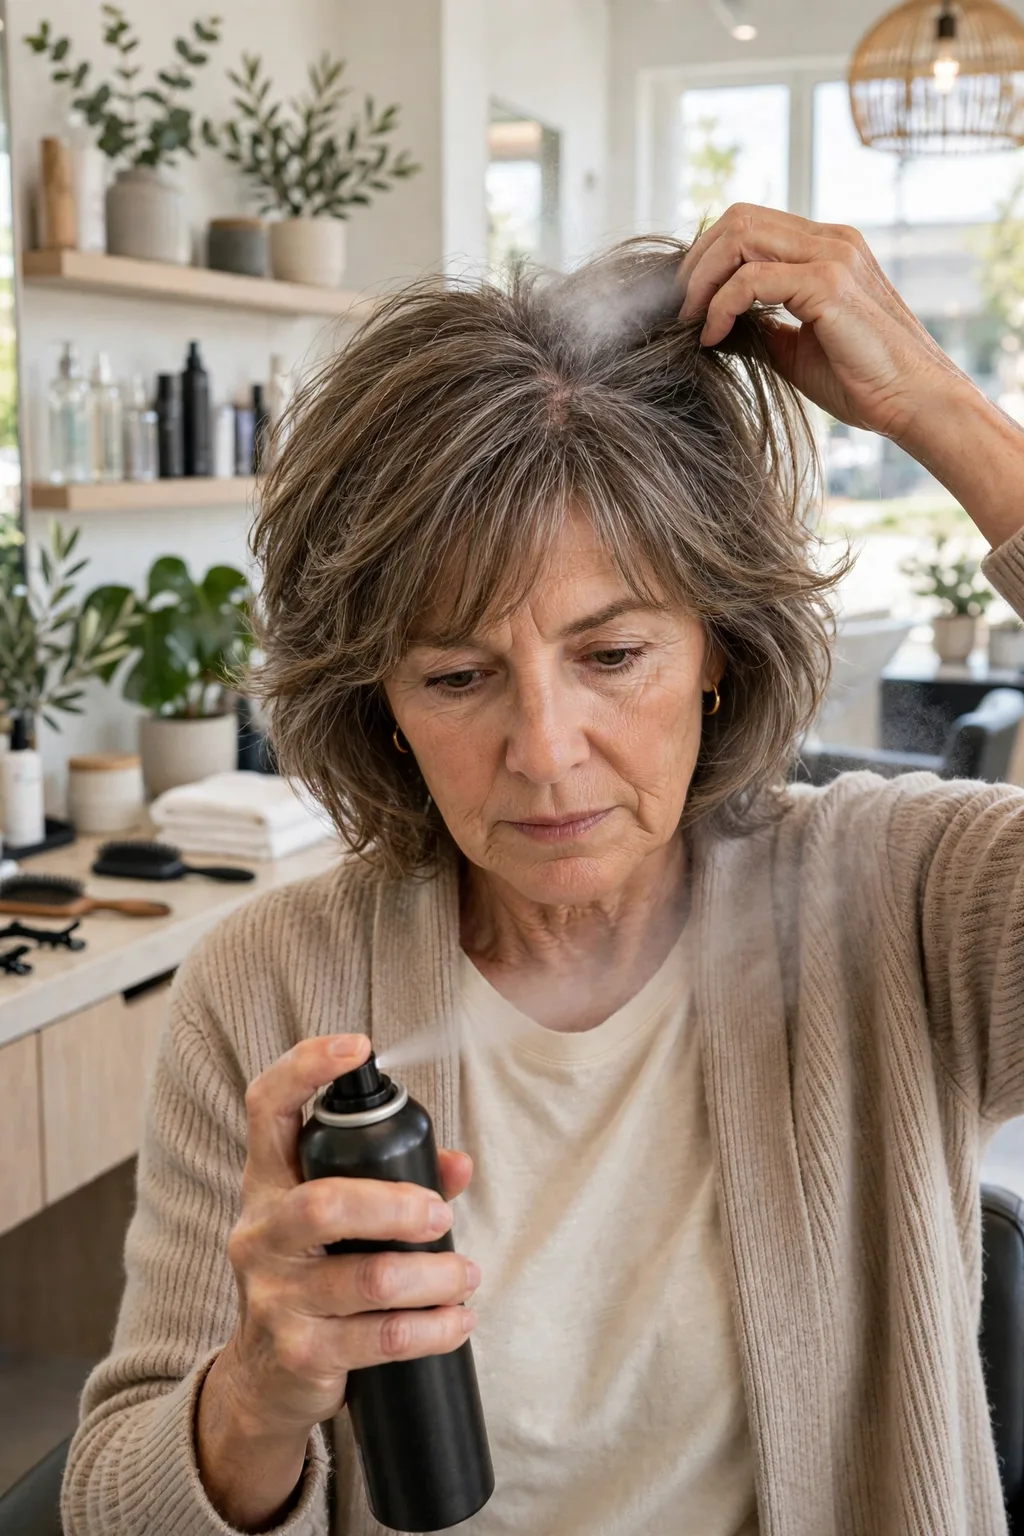
You do not need to start the whole routine again because you slept on one side. First, check your roots: if they are oily, a dry shampoo will absorb the excess — shake well, hold the can about twelve inches from dry roots, use short sprays only where needed, then massage and brush through. Check for powder residue even on silver hair, because grey strands can still look dull when product builds up. If your roots are not oily, skip it entirely.
For a flattened bang or one awkward front piece, dampen just that section with wet fingertips — lightly damp, not soaked — and guide it back into place with your fingers, or with the brush and a brief pass of low heat after a suitable heat protectant. Leave yesterday’s well-behaved sections alone; you do not need more mousse all over, and you almost certainly do not need more oil. Patricia, your everyday version can be softer and less polished than the salon finish and still show off the cut beautifully: a little lift at the roots, the front guided away from your face, a few ends standing apart — once those pieces are sitting nicely, you are ready to go.